
At least some people are pretty intimidated by them. When I decided I wanted to make my first curved piecing quilt I culled through tons of tutorials before establishing a method that works well for me. What I learned is that curves do take time, but they're easy! (Best kept secret in quilting.)
Later I tried to tell my quilting friend, Nina, about how easy it is to piece curves and I felt like I needed a tutorial to explain it, but I never did make one. When I decided to make my second curved piecing quilt I
Two quick notes before we get started!
This tutorial is based on a short video tutorial I found many months ago, but can no longer find! I did not invent this method, I am just sharing it here to spread the good word. Additionally, this is a method that works consistently well for me, not necessarily the officialest or schmanciest way to piece curves.
This tutorial assumes that you have already selected a pattern and cut your fabric for piecing. If you are not familiar with curved fabric patterns, Erica at Kitchen Table Quilting has a great (free!) pattern for a beautiful modern quilt for beginners that uses just 20 large curved blocks. It is called the Deep Blue Sea Baby Quilt Tutorial. Also, Check out the Little Mermaid quilts I made using this tutorial! Gah! They're so cute!
Supplies:
- ruler
- rotary cutter or scissors
- iron
- lightweight two-sided pressure sensitive fusible tape (more about this in a moment)
- curved fabric units that you wish to piece together
That's it! No pins, baby!
Method:
1. Fold both sides of your curved pieces (the concave and the convex sides) in half and press a crease in the middle of the side with the curve.
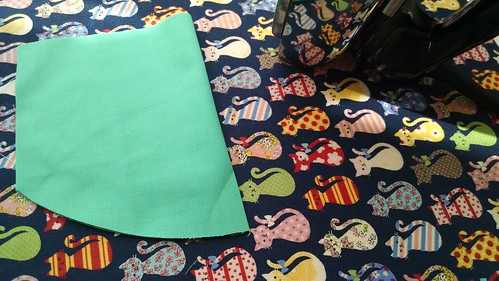
I press about 1-2" from the edge of the curve. This will just help you match the middles of your concave and convex pieces. I do these two at a time since I like to be
2. Measure the length of the curve you wish to piece.
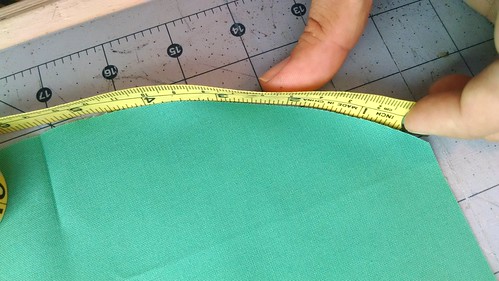
I use a flexible tape measure and just hold it up along the edge of the curve. This measurement doesn't need to be exact, so don't fret. For the Deep Blue Sea quilt, that measurement is 11". If you don't have a flexible measuring tape, use a piece of string or yarn to measure your curve and then measure that piece of yarn with a straight ruler.
3. Cut a length of your lightweight two-sided pressure sensitive fusible tape that matches the length of the curve you wish to piece.
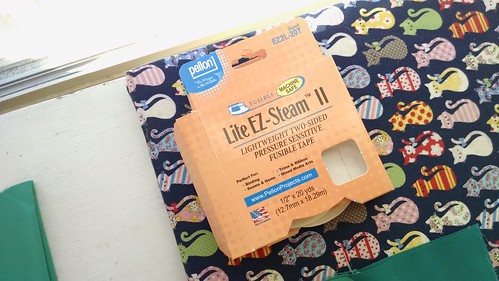
I always use Pellon Lite EZ-Steam II and have had great luck with it. If you can't find this product, the key is right there on the box. You need something two-sided, something that is pressure sensitive (meaning you can smoosh it together and it will stick), and something that is fusible. There is probably a fancy quilting product that has all of these properties *and* is 1/4" wide, so if you know one, feel free to leave it in the comments.
4. Cut your piece of tape in half lengthwise (so that you end up with a piece of tape that is as long as the curve you wish to piece and is 1/4" wide to match your seam allowance). So for each piece of tape you prepared in step 3, you'll be able to piece two curves.
5. Using your scissors make snips along one side of your tape approximately every 1/8" or so.

Your snips don't need to be spaced perfectly, the important thing is to just make enough snips to ease the tape around your curve. Be careful not to cut all the way through the tape. (Though I have been known to salvage a piece of tape even if I cut all the way through it!)
6. Attach the sticky side of your tape to the right side of a convex piece.
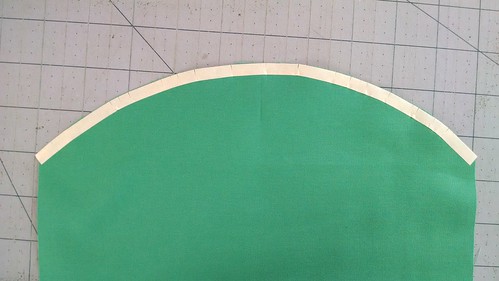
Attach the tape with the snipped side toward the curved edge. At this point, you could just peel back the paper covering of the sticky tape and begin to match and press your curve pieces. However, I have always had trouble making this product stick to the first piece of fabric when I pull the tape back, so...
7. Press the tape using a hot, dry iron then peel the paper from the tape.

8. Match your concave and convex pieces (right sides together) and press them in place using the sticky tape!
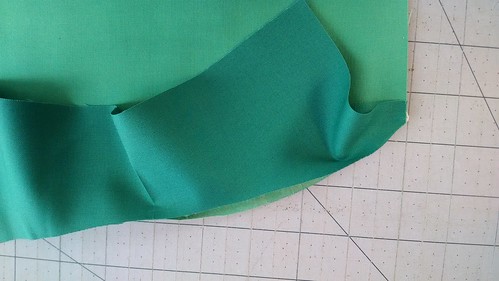
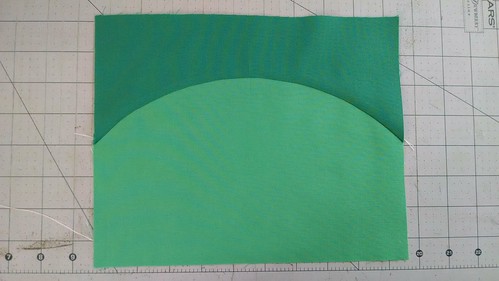
This step is difficult to photograph because you really need all of your fingers to place the curves just so! Begin by matching up the crease you pressed into the center of the concave piece with the crease you pressed into the convex piece and press to stick the fabric together. Once the middle is matched up, match one of the edges and press it into place with the sticky tape (shown above). Now start halfway between the center crease and one edge and press carefully in both directions until you have 1/2 of the unit stuck together satisfactorily.
If you've pieced curves before using pins, this step will be familiar to you.
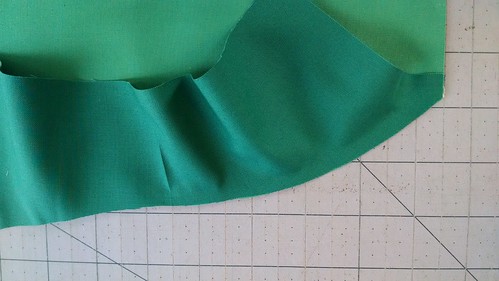
Repeat for the other side.
In my experience, this tape is infinitely repositionable, so if you mess up, just peel the fabric apart and reposition until you get a perfect curve.
9. Press along the curve to fuse the tape. I usually press about 1" in with my iron even though the tape only extends 1/4" in on the curve.
10. Sew your curve!
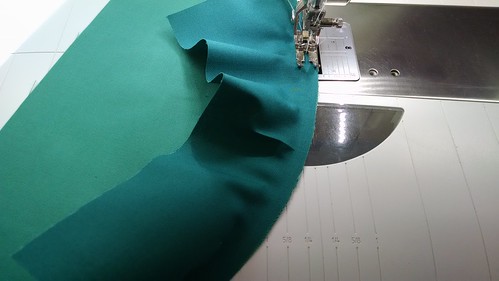
11. Press open and admire.
Only 19 more of these babies and you'll have yourself a Deep Blue Sea Baby Quilt!
Conclusion:
This process might seem a little tedious (and it is!) but once you get the hang of it, it can go quite quick. I would estimate one of the curves from start to finish (steps 1-11) takes me about 5-10 minutes once I'm really going. Also, having experimented myself with pinning curves, I think this method is a bit faster (even with all of the pressing) and I certainly find it more accurate than using pins.
Enjoy! Please feel free to leave questions or comments in the comments section below!

0 comments:
Post a Comment