It's been a while since I've blogged, so I figured I'd get back into it with one of the projects I'm most proud of from the last few months. One of my goals in learning upholstery has always been to upholster a chair with quilts.
Obviously.
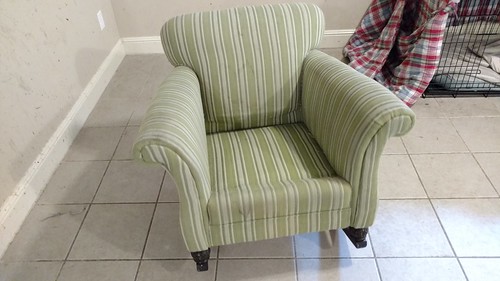
I started with this old green rocker we've always loved sitting in. The poor thing was definitely in need of some TLC, though.
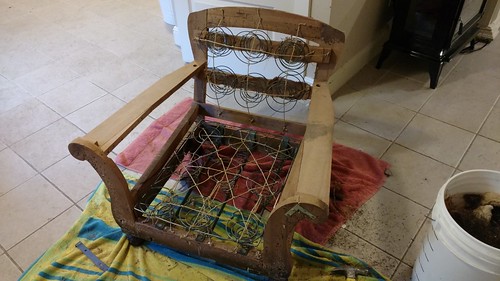
Then I stripped it down to the frame.
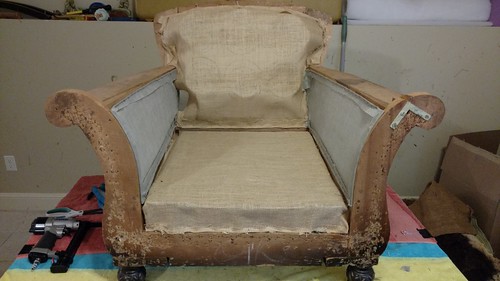
And started to rebuild the structure.
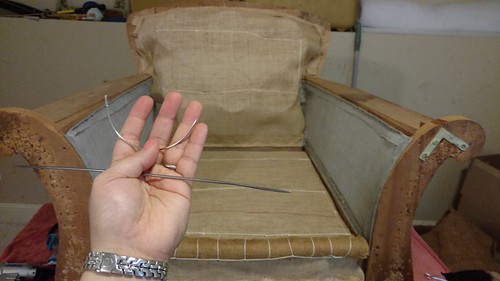
I did some sewing with these very strange upholstery needles.
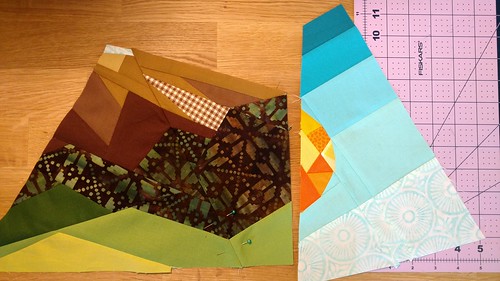
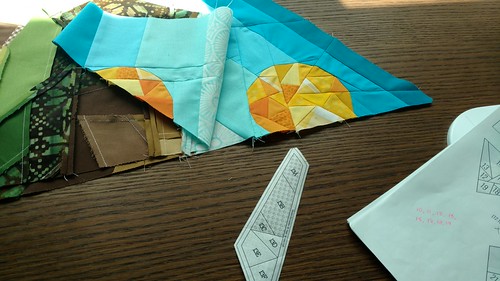
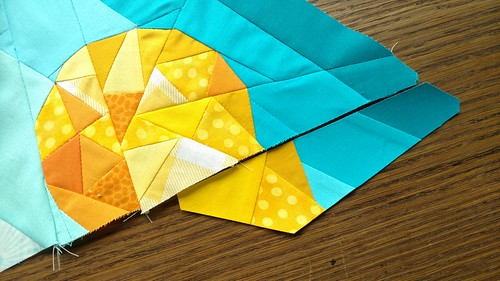
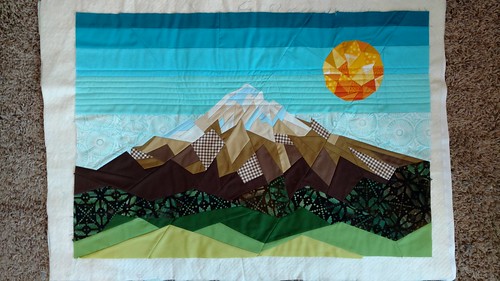
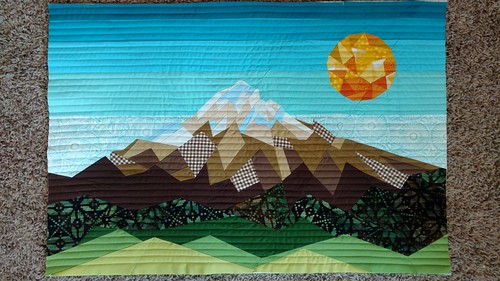
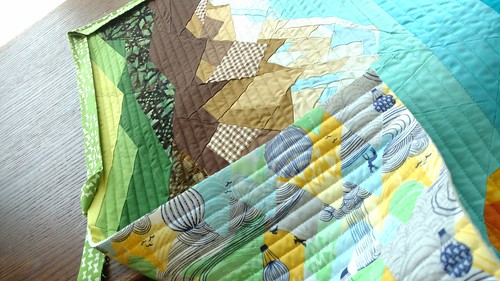
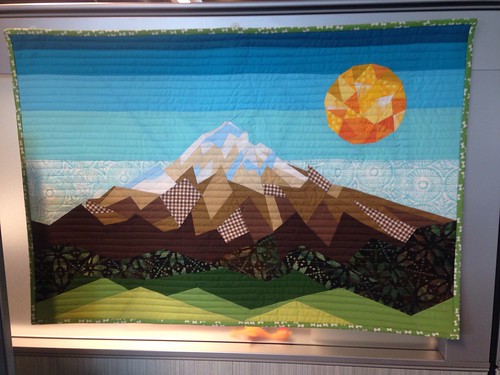
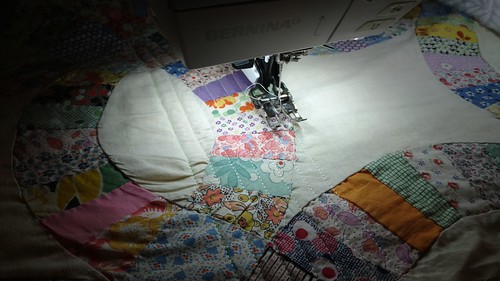
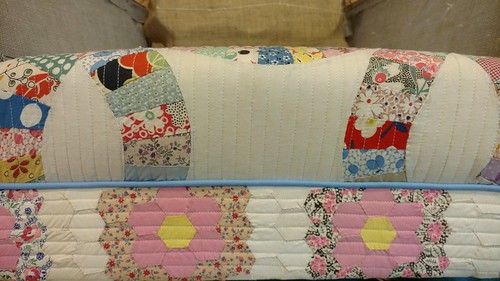
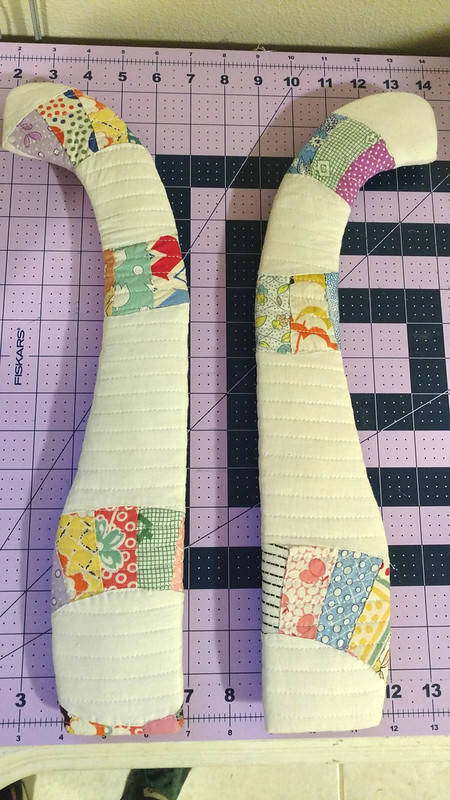
Then it was time to start preparing my quilts. I used antique quilt tops and combined them with modern backing, batting, and threads in a dense quilting pattern to add some strength to the fabric so they would withstand the upholstery process.
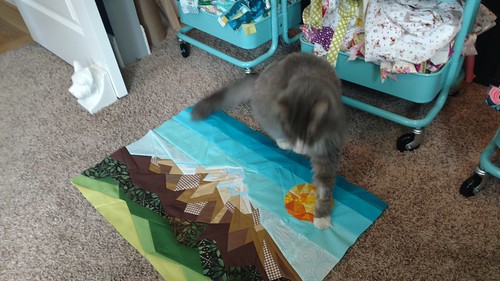
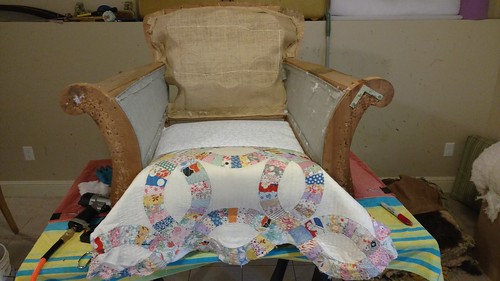
Then I started arranging the quilts on the chair frame.
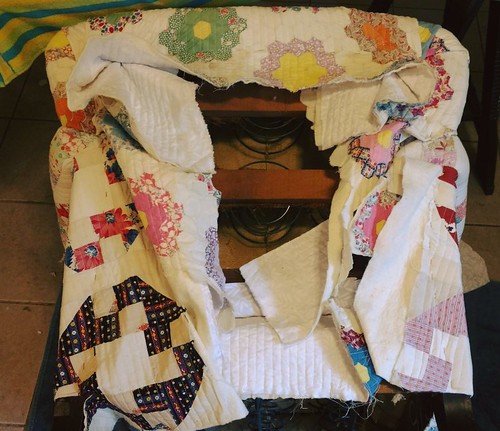
I was a bit nervous about running out of fabric, so I waited until the very end to trim everything down instead of trimming along the way and ended up with a rather lovely mess at the back.
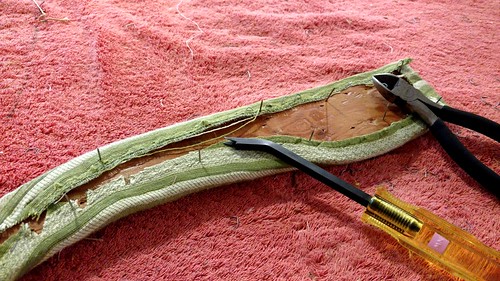
The second to last step was recovering these arm scrolls. There were *LOTS* of rusty little nails holding them on.
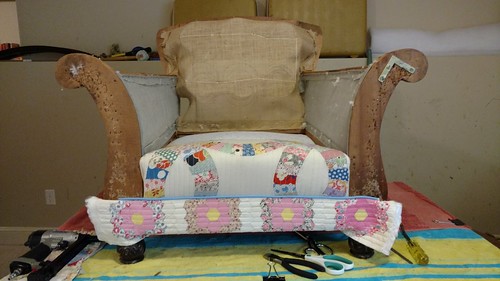
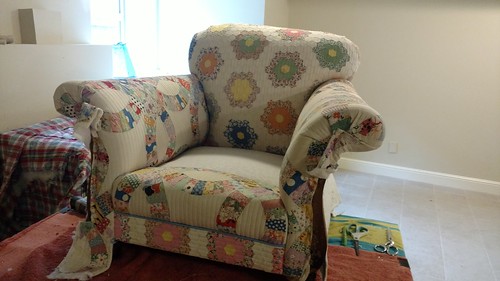
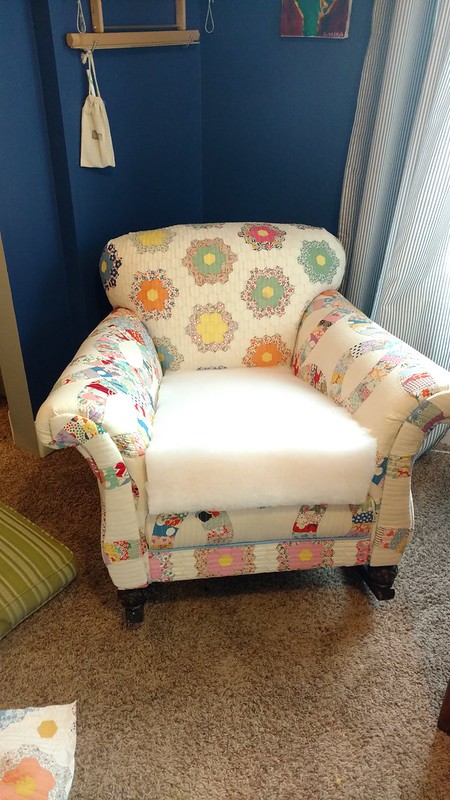
Here is the chair in its new natural habitat, lacking only its cushion.
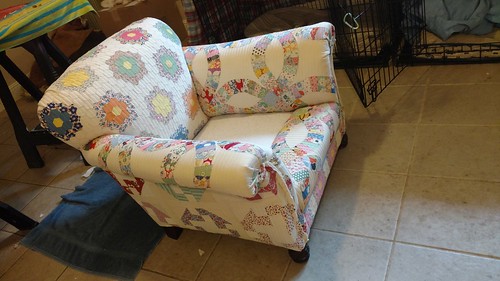
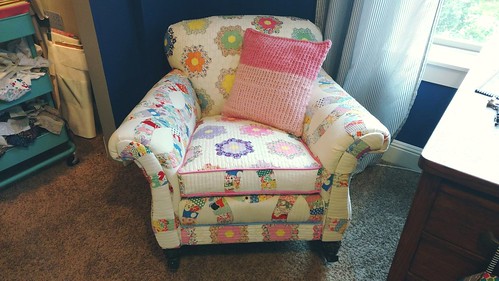
And finally the cushion!
Now I can take a break from making quilts to sit on some quilts! Living the dream, folks!
Tons of people on Facebook expressed an interest in upholstery, so here are some links to Kim's Upholstery, which is basically how I learned every single thing I needed to know along the way. She's incredibly generous and helpful as is the community of upholsterers you will find on her various pages, so feel free to check her out!
Kim's Upholstery Website: https://kimsupholstery.com/
- Her Facebook page, where she offers a free live course every Wednesday morning: https://www.facebook.com/kimsupholstery/
- Kim's DIY Upholstery Hangout, where you can ask and answer questions with other upholsterers: https://www.facebook.com/groups/172433936288031/
- Kim's YouTube Channel with tons of free videos showing how to re-upholster: https://www.youtube.com/user/KimsUpholstery